Sunday, December 22, 2013

Day 22: Felt Tree Ornaments

We had some felt left over from our snowman project and our heart project so I decided to put it to good use! There's always an opportunity to reuse craft supplies! Right?

What You'll Need:
Felt
Hot glue
Pom poms
Bells
Other decorations like beads, etc.
Ribbon
Scissors

Step One:
Cut out triangles out of the felt.


Step Two:
Use a heavier felt as backing so that the triangle trees will be able to hold the accessories you put on them. Cut out the backing so you can glue on the felt triangle. Glue the tree to the backing. 


Step Three:
Let your child decorate the tree! Put the glue on where they tell you to, and let them create! 


Step Four:
Take the dried trees, and use your scissors to just cut a line in the felt so you can stick a ribbon through. 


Tie a knot in the ribbon. 

Step Five:
Hang them up! Or give them to a friend! 


Saturday, December 21, 2013

Day 23: Marshmallow Igloos!

This fun project can be edible if you want, sort of like an igloo version of the gingerbread house. Or, you can just use what you have from home or left over projects to make a beautiful winter scene.

What You'll Need:
Paper bowls
Scissors
Marshmallows or Cotton Balls
Frosting or Elmers glue
Hot Glue
Frosting or Spray Glue
Cardboard or Plate
Fake snow or Coconut shreds
Any other candy or decoration you like

Step One: 
Take your paper bowl, turn it upside down and cut an arch out of one of the sides.


Step Two:
Take your "igloo" and use the hot glue gun. Glue the bowl to the cardboard. If you've got left over boxes from packages, use the short sides of the box, or to get a circle, use the bottom of a frozen pizza! I'm telling ya, I save everything for projects! 


Step Three:
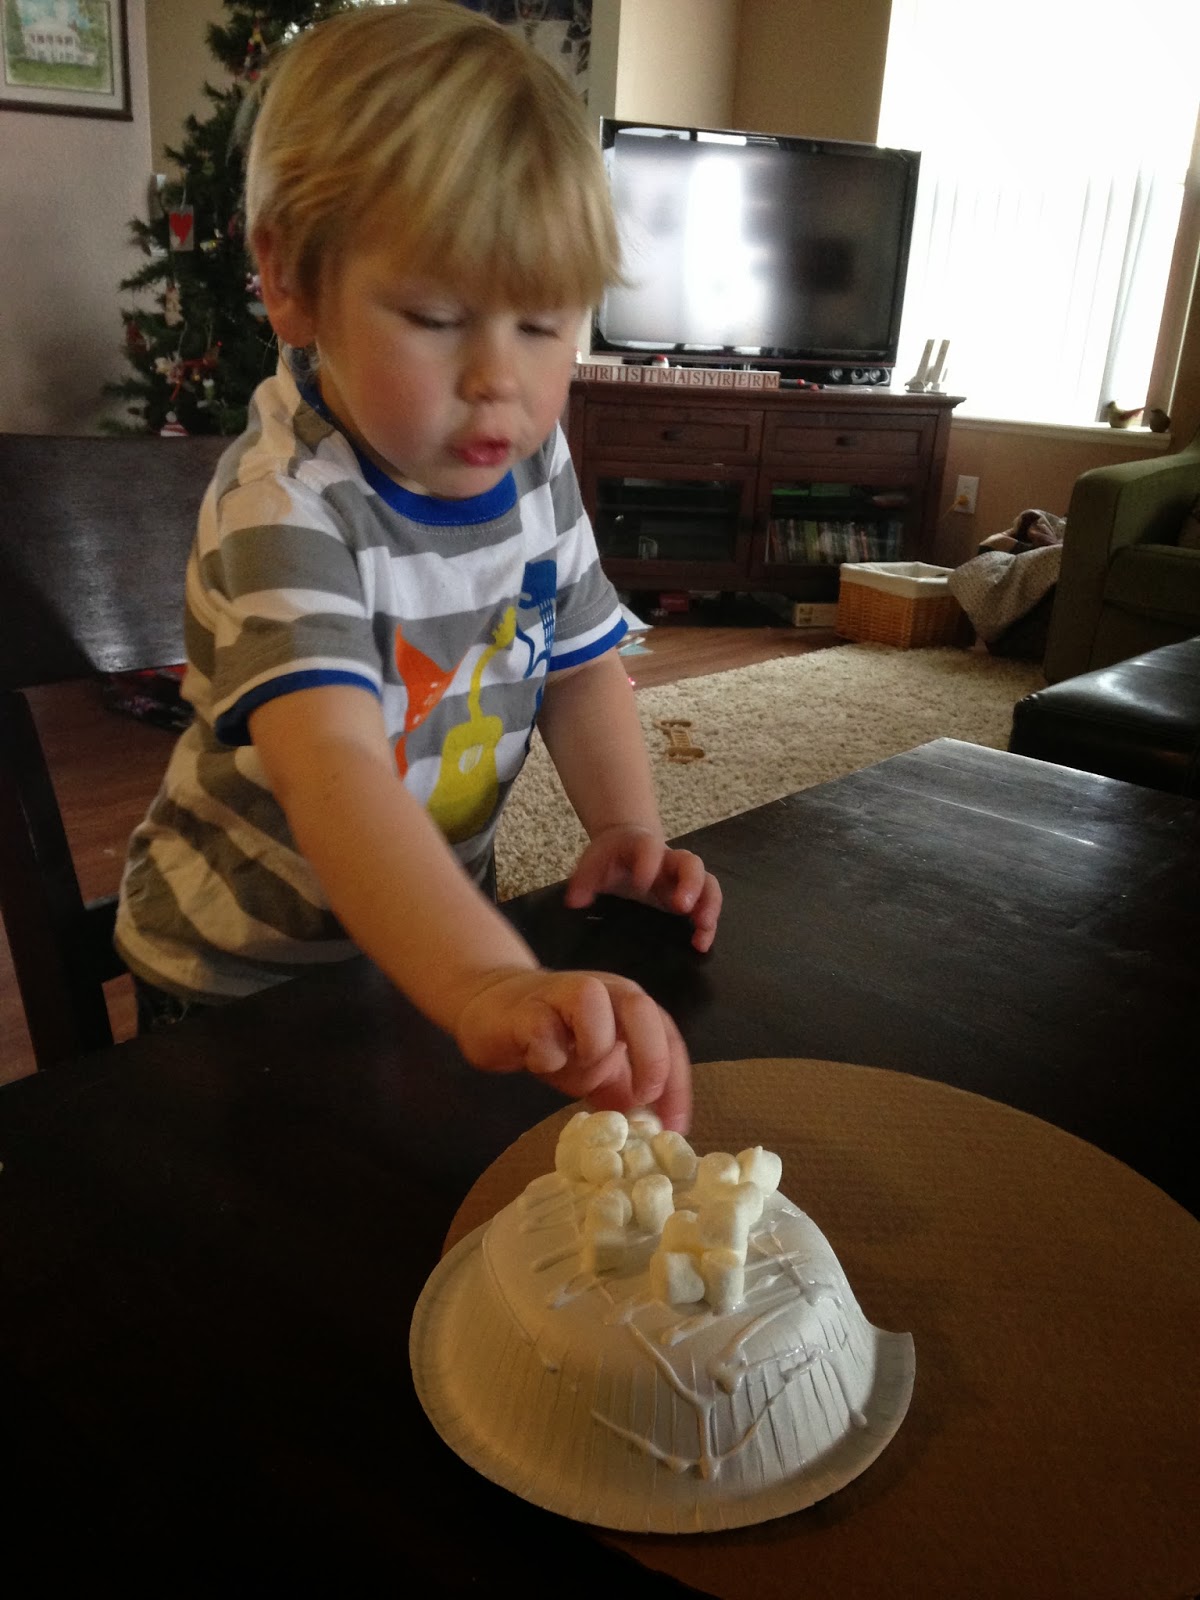
Put glue (or frosting) all over the igloo and let your kids decorate! Of course, they are going to want to eat some. 


We ran out of marshmallows so we used cotton balls to help cover up the igloo. 

Step Four:
I had left over animals form our Globe Ornaments and I had left over snow, so I used the spray glue and covered the cardboard really well with the glue. The fake snow covered it perfectly. If you are making the edible version, you'll put frosting down, and then cover the ground with other delicious goodies. 


I had a few fake diamonds we added to make ice or a lake, and a tree from the snow globe project so we added a few more accessories, and had the perfect winter scene. 


Well, that's it for your 23 days of Holiday Crafts. I do have a few more surprises for you over the holiday, but we are going to wait to do them with our family in Michigan! We get to celebrate our own little family Christmas tonight and then off we go! We wish you a wonderful Christmas and a Happy New Year!

Day 21: Sun Catchers

Here's a little craft that I found in the check out aisle at Michael's I am sure you can find these at any hobby store, craft store, or even Target. I'm sure the Dollar Store has them too. Either way, these were a great easy project for the boys to do on a snowy afternoon.

What You'll Need:
One Kit

Step One:
Lay out the different Sun catchers, let your kids choose which ones they will paint.


Let them paint the plastic sun catchers.

Step Two:
Once they are painted, let them dry.


Step Three:
Once dry, use the ribbon in the kit to make it hang on a tree or on a suction cup for the window. 


Step Four:
Hang! And enjoy! We've been waiting for a sunny day to put ours up! 


Friday, December 20, 2013

Day 20: Popscicle Snowflakes

Today was another messy glitter day in my house, and while I was smarter about protecting the table from spry glue and glitter, my hands are covered in glue and glitter. Oh well. I guess I'll get it right one of these days.

What You'll Need:
Popscicle sticks
Hot glue gun
Spray Glue
Glitter

Step One:
You can have your kids do this or you can prep it in advance. I chose to prep this for them. So, I glued sticks together so that they were in the shape of a snowflake: start with a cross, then add sticks on to fill the gaps, keep making crosses.


Step Two:
Once they are dry, give them to the kids! I used the Elmer's Spray Adhesive glue and covered the whole snowflake. (It dries quickly, so you may want to spray it again after a few minutes) Then, I gave the boys glitter and let them go! 


They were much better at using the glitter this time so it was way less messy. 

Step Three:
Once the snowflakes dry, shake them off and get the last little bit of glitter off. Once you have done that, you can turn them over and glue on a ribbon to make the snowflakes hang. To do this, you just take a ribbon and tie a knot. Then you use your hot glue gun and make a big glob of glue on a spot on the snowflake. Stick the ribbon onto the glue. Push it down, be careful, the glue is hot. Let it sit for a few minutes while it dries. 


Step Four:
Hang it on your tree! 

Thursday, December 19, 2013

Day 19: Heart Felt Ornaments

I love simple projects and simplicity in decorations. I love when ornaments mean something and when they tell a story. I think we all have a story about love, or about the simple icon of a heart. And now, you can give this cheap, easy and adorable ornament to someone who means something to you!

What You'll Need:
Felt
Glue gun
Ribbon
Scissors

Step One:
Take your felt and cut out heart shapes. Make as many as you want. Make them all different sizes.
Then, take a piece of felt, I found some "hard" felt that I decided to use as a backing for these ornaments, you don't need it, but I thought the gray looked nice and it was the only gray I could find. Once you decide which color will be your backing, cut different sized squares or rectangles.


Step Two:
Let your kids create! Lay out the different colors, and different sized hearts and let them build their ornament! Because felt sticks to one another, let them create their ornament...


 Once your child is done making the perfect Love Ornament, reinforce it with a hot glue gun. 


Step Three:
Take your scissors and cut a hole for the ribbon so these can stick on your tree. I just made a "cross" or an "X" in the felt and stuck the ribbon through. 


Step Four:
Once the ribbon is through, tie a knot and then you're done! The perfect, simple, easy ornament of the season. 

Wednesday, December 18, 2013

Day 18: Cinnamon Salt Dough Ornaments!

Another reason my house smelled so wonderful the other day were these adorable ornaments! These are simple, fun and will make your tree smell chirstmassy!

What You'll Need:
1 1/2 Cup flower
1/2 Cup salt
1/2 Cup Water
Cinnamon (to your liking)
Rolling Pin
Cookie cutters
Nonstick pan
Oven (250 degrees for 1-2 hours)
Hole punching tool
Ribbon
Googly eyes
Pom Poms
Hot glue gun

Step One: 
Mix all of the ingredients into a medium or large mixing bowl. Knead it, roll it, get it smooth so that you can use cookie cutters on it. Once you have it flat, and thick or thin enough for your liking, let your child use cookies cutters to cut out their favorite shapes for their ornaments.


Step Two:
While the dough it still uncooked, use your hole punching tool to poke a hole where you will place a ribbon. 


Step Three:
While your oven is heating up, place the cut outs on a non-stick pan. They can be close together because they won't rise or change shape in the oven. Keep them in the oven for 1-2 hours, or until they are hard. Pay attention to them so they don't burn. After they come out of the oven, place them on a cooling rack for a while so they are cool to the touch so your child can handle them for the next part of the project. 


Step Four:
Once they have cooled, let your child pick out different accessories for their ornaments. We made gingerbread boys and snowmen so they needed googly eyes and buttons. We also made trees so those needed decorations too. 

Step Five:
Once your kids are done decorating, let the glue dry while you cut ribbon (long enough to hang them).


Place the ribbon through the holes you poked earlier. You may need to poke them again, I had to do that on a few of them.


Step Six:
Place them on your tree. Sit back and enjoy these cute little critters and the glorious smell of cinnamon on pine.