Thursday, June 12, 2014

Outside Planting Activity

I realize that it's not exactly planting season these days, but for kids who spend most of the year in a place with no dirt and a backyard full of rocks, planting in a real garden is a huge deal. Even if they won't see their final product, they at least get a pretty good kick out of planting pumpkins. 

We found an unused raised bed at Mimi and Pop Pop's house so we decided to fill it! If you don't have a planter, you could easily use a flower pot. 

After pulling the weeds out of the box, and giving it a little TLC, we put in holes . 


Then we counted our seeds and put them in.


Then you have to water, and boy, there isn't anything more fun than water and a watering can.


And then, Henrik found some poles that had numbers on them. It was his idea to put these next to his seeds so we could see how much they grow. If you don't have a pole with centimeters measured out, a ruler will do. 


Then, every week, you can calculate (in your journal or on a home made graph) how much your plant has grown. It's a great way to start to learn numbers, the growth of numbers and how to make a simple chart.

Easy Summer Homework To Do Every Day

Summer means spending days at the pool, being outdoors, and picnics every day, but it also means we need something to keep our kids in "school mode" so they can keep practicing their skills. This is especially important for pre-school aged children who will drastically grow over the summer months. This is the first summer, now that I have a four year old that I've decided to have mandatory writing and reading time. Yes, even the two year old is involved.

For just a few dollars, you can get a notebook for your children to write in every day. If they can't write a sentence, just have them write a little bit each day.

Day one, we had Henrik write all of the names of his family members and draw a picture of them.


I'll have him do this every month of the Summer so we can see the progression and practice our skills even more. Plus, these are adorable keepsakes to have around when they are older.

The other thing we are doing every day is keeping a Summer Journal. Each day we write a sentence of the best, or worst part of our day. I am writing the sentences for now, but at the end of the summer Henrik will start writing them. After the discussion of our day, and the sentence is complete, I have each child draw what they told me about. The boys like this homework. It's a great way to recall their day, it's a great way for them to think about the things that are important to them and will be fun to look back on the summer.


Remember, you are doing this WITH your child, so encourage them to really think about what they are drawing. Ask them questions like, "what color was that...?", "what shape do you need to make to make a...?". Encouraging them to draw is one thing, like with our two year old. Basic shapes and putting eyes on faces is huge developmentally, but for our four year old we can challenge him a bit more.

Wednesday, February 26, 2014

Our World: Antarctica


This lesson was really fun. I had to wait until we had snow, a rarity in Colorado this winter, but I was prepared nonetheless. Before this lesson, I took a few of their smaller plastic toys and put them in some water in small cups and placed them in the freezer. When it was time for this lesson, I took them out and had created glaciers! 

This lesson was pretty much one giant sensory bin that lasted hours. It was too cold to play outside in the snow, so I brought the snow in! For this lesson, I am going to show you a bunch of images and then caption them with what we did with the lesson. It's a little easier this way since this was such a science based lesson and a lot of different conversations went into each part of the lesson as the snow melted or as it was added. 

One of our glaciers


 Henrik discovering that he cannot break a glacier with his hands. We talked about how we could get the object out of the glacier. He noticed that the water was coming off of glacier so we talked about why that was happening. After he realized that his hands were making the ice warm, we talked about how ice melts and that it would be a good way for his toys to come out of the glacier.


These are what our sensory bins looked like. Glaciers, different toys and snow! Here we talked about camouflage and what types of animals lived in places covered in snow: bright animals or white animals. And of course we had to talk about why that was! 

A penguin stuck in a glacier

Henrik wanted to know what was under all of that snow and what else could be stuck in the ice, we came up with a few different hypothesis and decided that there must be "millions of dinosaurs stick in the ice, forever". 


It's more fun to play with snow when you have a snow plow

As the snow melted we talked about why that was happening. We talked about what would happen if the world got warmer and all of the snow melted. We talked about how the snow turned to water and decided that the polar bears wouldn't have a home any more because "they can't swim like a fish or a penguin". Regardless of your global warming opinions, you can still teach your child about the effects of heat and cold on the environment of our animals. This was a great lesson for my boys because they really care a lot about animals and creatures and want the polar bears to keep having "ice to walk on".
A frog stuck in a glacier


Theodor was really concerned with the animals stuck in the glaciers, so to speed up the melting process, I gave them a bucket full of warm water. They placed the glaciers in the bucket and waited for them to melt. 


This was a fantastic lesson for my kids about nature, weather, and a whole world that we don't know a lot about. But we watched a few Frozen Planet episodes and watched penguins as they searched for food in a place where it's just too cold for anything else. They thought it was awesome.

Our World: Asia

This lesson was fun, it happened to be short, but the boys had a lot of fun being creative. This lesson, we spent a lot more time looking at maps, pictures, and videos online or on TV than we did with any other lesson. We looked at a few Little Einstein Videos, we watched parts of Mulan, and we even watched people do origami. But at home we were busy too.

CHERRY BLOSSOM TREE:
This project has been floating around Pinterest for a while, and I loved the outcome so I decided to have the boys try it. I actually have these pictures hanging in my bathroom because they turned out so well. All you need is a 2L bottle or some kind of pop bottle. Something that will allow you to make dots. You could also use finger prints to do the blossoms. For this lesson, we talked about why Cherry trees are important, where we can find cherry trees in our country (ie: Washington DC) and we even got in a little science lesson as we talked about how flowers were created on trees instead of just leaves or pine needles. You can tell we live in a place with no trees :) 


CHINESE LANTERNS:
This was a really easy project that actually was really good for Henrik and Theodor. They both need practice with scissors so this was the perfect task! I took some construction paper, folded it in half, and in half again so I had a small square. Then, I drew lines on the paper for them to follow and cut.


Once they were done, the boys took the lanterns, and taped them together. Pretty simple! They actually prefer to use these lanterns as train lanterns, but whatever. 


CHINESE DRAGON:
This took some planning, but I did this lesson on the Chinese New Year. They kind of remembered our New Years celebration (except they didn't stay up for it) so when we talked about the Chinese New Year it was a little easier to comprehend. They actually liked this version better. They got to learn about different animals, different zodiac beliefs, and they LOVE Dragon kites. They loved every thing about this lesson, especially how colorful it was!

Hank and Theo did this project, but I only have pictures of Henrik because Theo thought it would be more fun to tear off the paper and rip apart the dragon, oh well. But, they both had the chance to count the cups we used for parts of the dragon's body, they both told me what colors to use and they helped build the dragon. 

KOI ART:
 I actually really liked this project. I gave them the choice of some famous Asian art to paint. They chose to paint the koi, probably because it was fish, but either way, we looked at real masterpieces and talked about what they were made out of (wood cuttings/printings vs. canvas, watercolor vs. oil paints) and who painted them.


Once they decided on a picture to copy, we discussed the picture in depth. I then showed them other images of koi paintings.  What colors were in the image? How were these two paintings similar? What part of the koi can we see? What else is in that picture? Then I took the paintings away. I wanted them to create their own art based on what they had seen. I think they did pretty well! I still have these paintings too. While abstract, and may not look like much other than scribbles on paper, I am very proud of the results, especially when they came from memory!

Our World: Europe

I have to admit, this lesson wasn't as good as I could have made it. But, again, a lot of what I decided to do was based on the interests of my boys. I wanted to do more, but with the Olympics growing near, I knew I needed to wrap up these lessons quickly.

DOUBLE DECKER BUS:
While Theo was asleep, we decided to make a bus to celebrate the unique vehicles in London. Hank is obsessed with these buses. Not sure why, but we have to talk about double decker buses all the time. So, we decided to make one.


I just took a box from the recycling bin, some construction paper, plain white paper and some glue and we had everything we needed to create the perfect bus. He was so proud of his creation he vowed to take it to school to show all of his friends. 

KNIGHTS IN CARDBOARD ARMOUR:
We watched "Dragons", or as most people call it, "How To Train Your Dragon" and learned a bit about the boys viking heritage. Then we talked about Castles, Kings, Queens, Knights, villages, kingdoms, etc. They even got a little history lesson when I told them about how the United States was formed. They found it really interesting when they heard there were boats and ships and horses involved :) What a totally different world than what they know. While they took a nap, I made a shield and swords for them out of cardboard, they had to make their crowns when they woke up.


It was a huge hit. These boys loved being the protectors, they weren't so much into the King business, but they wanted to help save their babies from the pumas and cobras....


And yes, they do have cat faces on, in their super hero capes.

LEGO CASTLE:
I am a huge fan of Legos, you really can do anything with them and of course we had to build a castle! It quickly became quite the kingdom too. Henrik and I looked at pictures of different famous castles across Europe. We talked about different features, what they were made of, why they had towers, what kind of rooms were in castles, what a kingdom was, who lived/worked in a castle and so on. We had a lot of fun putting our own castle together as we looked at all of the different styles. 


EIFFEL TOWER CONSTRUCTION:
Before we ended our lesson on Europe, I showed the boys different iconic structures in Europe. We talked about their location, their importance and who created/built them. And then, we got to the two easiest ones that we could make out of marshmallows: The Eiffel Tower, and the Leaning Tower of Pisa. 


To make the Eiffel Tower, I printed out a picture of what it looked like. Henrik was sort of left to build his own tower, however, I helped with the base, it was tricky for him to get started. But while we built it, we talked about the different shapes the tower was made of, how many triangles, squares, circles, etc. we could see in the structure. He really enjoyed this project. He loves to construct so this was perfect for him! And it didn't hurt he could eat a few marshmallows as we did it.

LEANING TOWER OF PISA:
We followed the same format with this tower too. Henrik was able to do this one all on his own, as it required no toothpicks. While we built this one we talked about what it was made out of, and we spent a lot of time counting our marshmallows to see how high we could actually make our tower!


Saturday, February 8, 2014

4 Simple & Cheap Valentines

The boys had a Valentine's Day Party where they were going to exchange cards with their friends, I wanted to send out cards to our family, and Henrik's class was going to do an exchange at school. I'm not a huge fan of the store bought cards, so I decided that we'd get our craft on and make our own! All of these are Valentines that kids as young as 18 months can do them, with help of course. Really, all they are doing is using glue. Older kids can do the cutting, but I did all of the prep in advance.

I'll Eat You Up I Love You So! 


For this craft, I cut out different colored hearts, and the white backing before hand. I gave the boys a glue stick and asked them to glue the hearts to the white paper. Once it was dry, I asked them to use Elmer's Glue to put on the eyes, I let Henrik do the glue himself, but I helped Theo with his. They told me how many eyes they wanted to put on their heart face and I made that number of glue dots. Then, I asked them to draw the rest of the face, and the arms and legs. I wrote the rest! But I think these turned out pretty cute!

You Make Me Gush! 


For the cost of some Gushers, these simple valentines were perfect for my fruit snack loving kid to give his friends! I wrote the text, Henrik added the heart stickers, I used a glue gun and put glue on the white backing and Henrik added the gushers! Simple, easy and delicious!

You Blow Me Away! 


These were Theo's valentines for the party. He could have done them, but he fell asleep, so Hanky helped me with these. Again, I wrote the text. I used the glue gun, and Henrik added the bubbles and stickers! I got these tiny bubbles in the party favor aisle for about a dollar!

I Only Have Eyes For You! 


Because these were for Henrik's class at school, I had him write his name on all of the valentines. I cut out the monster shapes and the white backing while he wrote his name 12 times! Then, I glued the monsters on the paper while he added arms, legs and a face. I of course wrote the text and used the glue gun, but he added the eyeball rings to the faces! Again, these rings were in the party favor aisle for $1 each. 

Sunday, February 2, 2014

Our World: Australia

As we continue our lessons on the different continents, I decided to have the boys take a more historical look at Australia. I wanted this lesson plan to teach them about the Aboriginal culture, art and people. Because our weather was chilly, and we were confined to the house due to snow days and delays, I decided to let my boys do a lot of projects and hands on activities for this lesson. This lesson is very project and art based so if you need some painting fun, and aren't worried about the mess, try some of these out!

Nature As Art:
The day before the snow came, I sent the boys outside to gather rocks and sticks. This is by far one of their most favorite activities, so the most difficult part of this task was bringing them indoors once they had a collection!

As they painted, we discussed why we were using nature to create art. I showed them images of different Aboriginal art: sticks, rocks, paintings on bark, etc. They thought it was pretty neat and liked the whole concept of being outdoors do paint. They were upset I wouldn't let them paint in outside. Anyway, while they painted, we talked about the different colors they were using, how many rocks they each were painting, how to mix colors to create other colors etc. Don't forget, while you are teaching about say, Australia, you always have the opportunity to teach your child about simple things that they should be learning about: colors, counting, math, shapes, all of these things are part of our daily life! Take advantage of easy ways to teach your kids the essentials! 

Aboriginal Art:
Eric had the day off, so I thought we'd include Dad in some of our projects! It's always a great idea to share the learning process with another adult because they have different ideas of how to create an understanding of an overall theme. In order to create some Aboriginal art, I drew some basic images after I researched aboriginal art. I tried to include geometric shapes and images that were important to the lesson, but also historically accurate. Once I created the design, I gave the boys paint dabbers and asked them to put dots around the shapes. I showed them different pieces of aboriginal art and asked them to explain it to me. Henrik told me there were a lot of shapes and circles so I asked him to create art using those shapes. 

Carefully, the boys used lines, dots and zig zags to create what I think are pretty cool pieces of art! 


Cave Paintings:
That same day, since we had the paint out already, I asked them to do some cave drawings. We had already discussed how art could be created on wood, paper, rocks, sticks, etc. But I wanted to teach them about cave drawings and how they created a story once they were completed. For this project. I traced their hands. I told them that hand prints were common in cave images because they were personal and told a story about an individual. I suggested that when a baby was born, a hand print could be put on the cave wall and each year after that, a new, larger hand print of the same baby could be put up. Over time, we'd see how that child grew and grew.


As they decorated their hand print, we talked about different stories that they could tell me about their life through pictures. We talked about how Henrik could draw a car next to his hand print because he really loves cars, or how we could put a hand print of Theodor next to his to show they were brothers. I think they liked using symbols to show who they were. It was something different than we've ever done before, but I also really liked how they got to choose what represented them the most and why. 

Tic-Tac-Toe:
While the boys were painting their rocks, I painted too. Given the success of Mancala, I decided that I'd play tic-tac-toe with Henrik during this lesson. I wanted to show him that games can be made from just about anything. So, we played! Australian style! There they have different words for it. I've heard, Naka Naka or even Noughts and Crosses, but either way, this was a fun game to play with my 3.5 year old!


We used the Kinetic Sand as our base, a few rocks that I collected from earlier and some paint to create this simple game that can be played anywhere all over the world. Even in Australia.
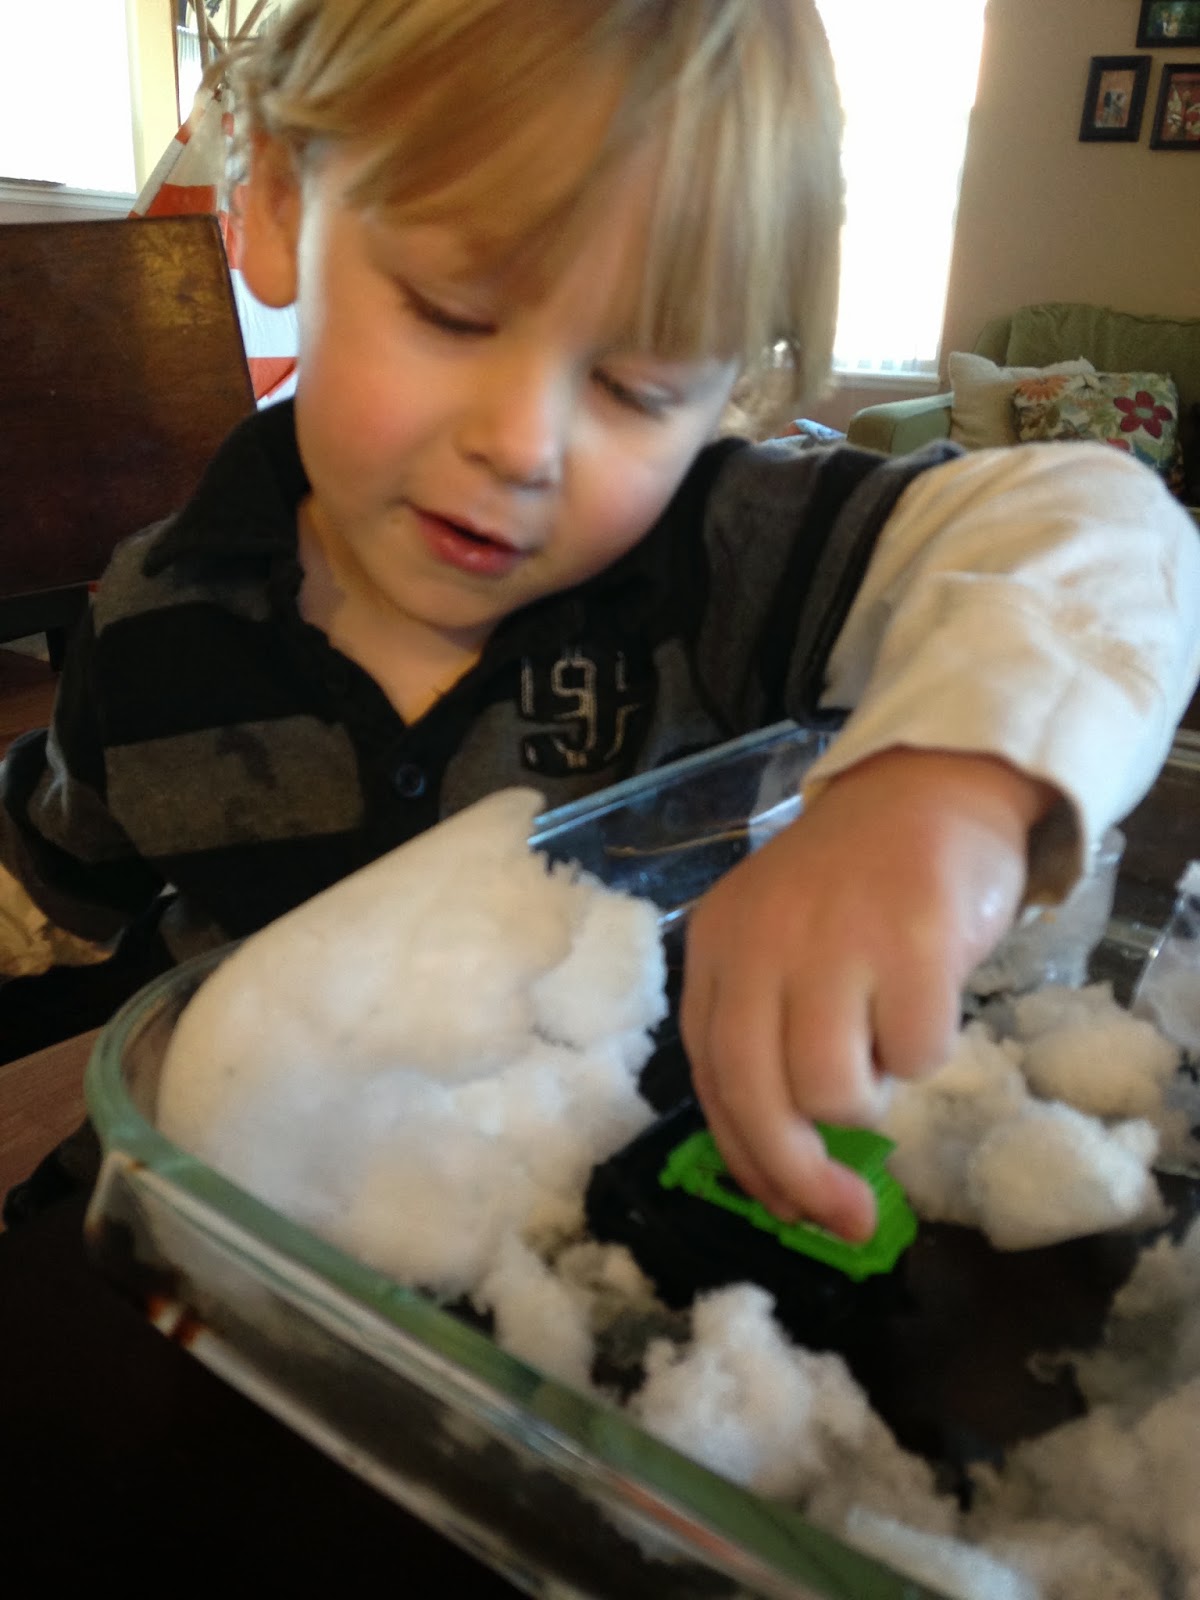
Sensory Play:
While Hank and I played tic-tac-toe, Erica and Theo were given the task of creating the Outback and Uluru, the largest, most famous rock in Australia. It just sticks up out of no where. The boys and I ready multiple stories how how the rock was formed, (from folklore) and then they were given the task to create it out of Kinetic Sand! We also compared Uluru with rocks we have here in Colorado and discussed how they were different than Uluru because ours are in clusters of other rocks, and Uluru is the only rock formation for miles.


While Hank and I played, and Theo and Eric played, we discussed the animals from Australia. The boys learned about marsupials and even recalled going to our zoo and being face-to-face with a wallaby!