I was going to save this one for later, but I realized that in order to make this craft, you'll have to leave your house and get supplies. So, if you want to make these, you'll have a lot of time before Christmas to get it done!
What You Need:
Clear plastic fill able ornaments (sold on
Amazon or at Michael's, probably at other craft stores too)
Hot Glue Gun
Fake snow
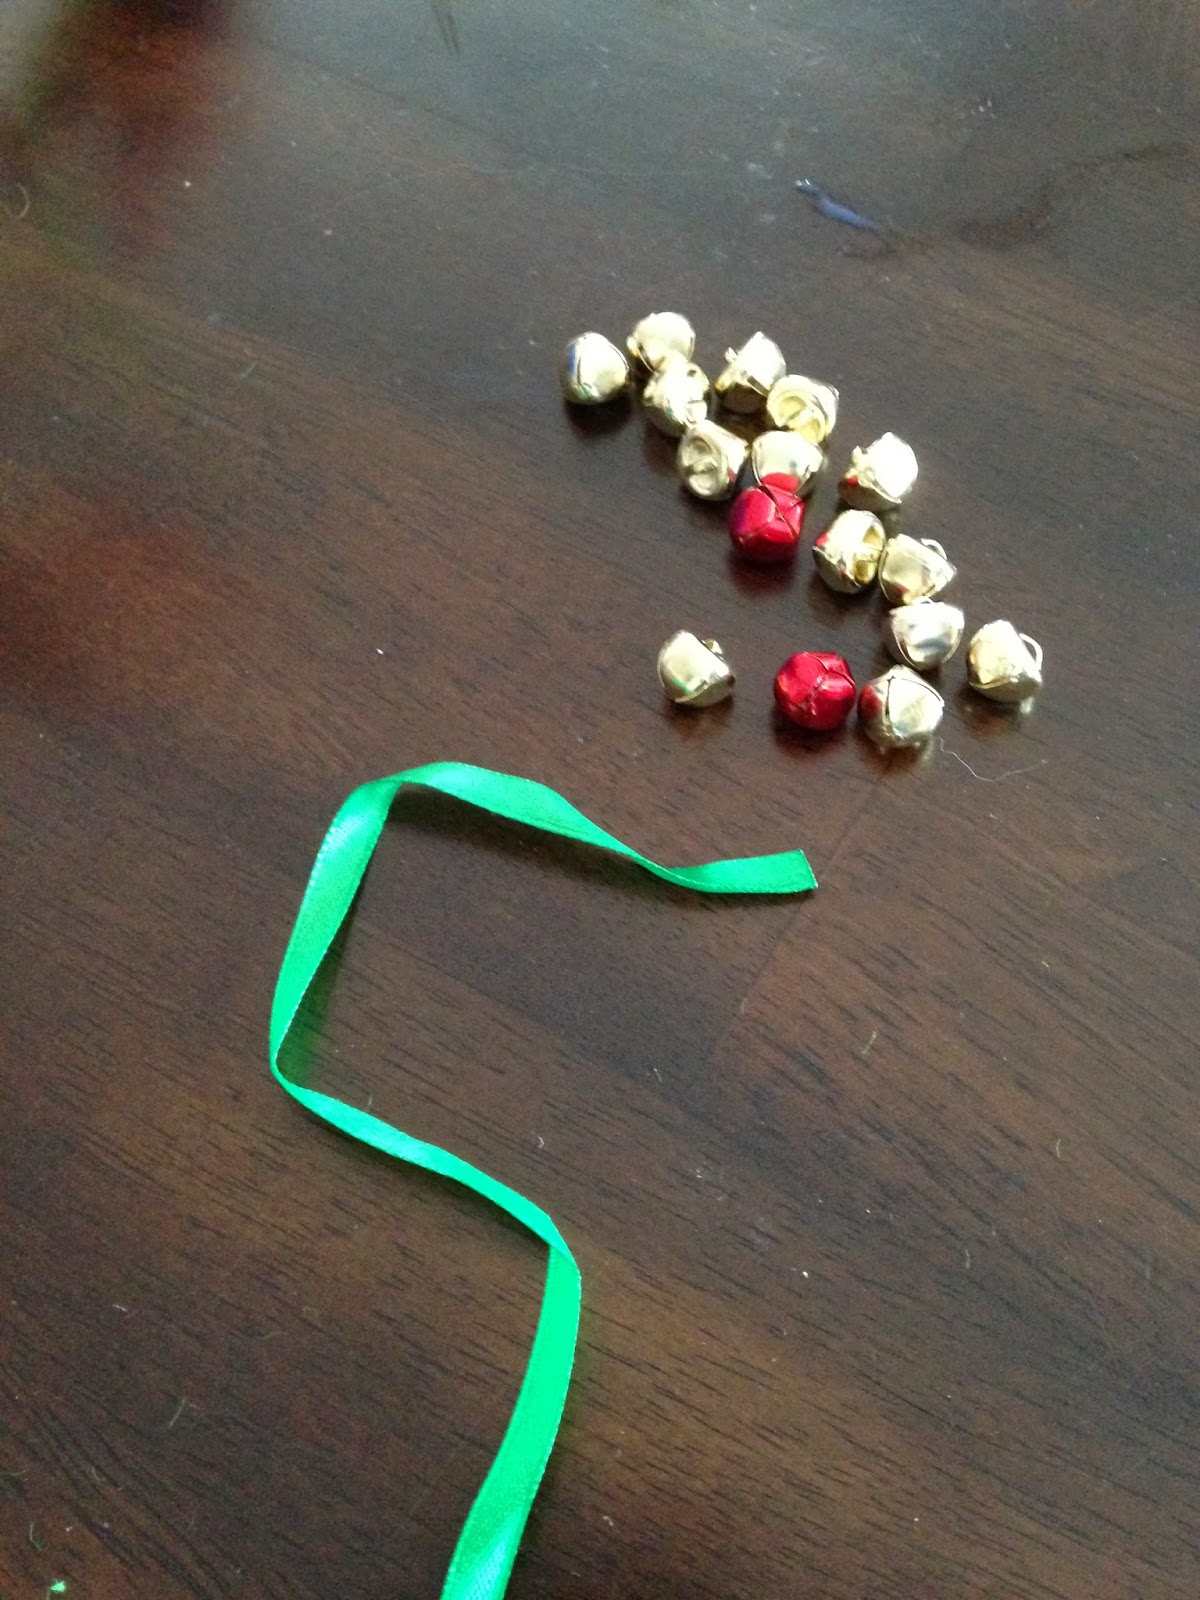
Ribbon
Things to put inside the bulbs
This isn't a really hard project, but it's one that takes a while. I could only do this craft with one kid at a time because it was time consuming as they sifted through the options of what they could put in side. But, if you lay out all of your materials and set up stations, then you will have a much easier time with it.
Step One:
Set up your materials and make sure everything is opened and ready.
Once you know where everything is, let your child look at ALL of the options before they begin. Have them pick a focus item for their globe. For the globe I made, I chose a deer. I glued it into place on one half of the bulb.
Henrik chose a train to start. We decided that we were going to add other things, like snowflakes to the bulb so it looked like it was snowing on the train, so with his bulb we started gluing snowflakes on to the back of our bulb before we made his train the focal point.
Theodor decided to have a bird in a nest with eggs, so before we could really start his project, we had to assemble the nest. The eggs and the cardinal came individually from the nest so we had to glue all of the pieces in place before we could place it in his globe.
Step Two:
Once you've added your other features to the globe, and they are securely attached and the glue is dry. Add your fake snow confetti or fluff (whatever you've chosen) to fill the globe (and cover up the glue marks)
Step Three:
Once you've closed your globe, you will want to glue the two pieces together by placing a thin layer of glue along the seam. I used ribbon to cover up the glue.
Step Five:
Add a ribbon to the top, a hook so it can hang on the tree, and sit back and enjoy these lovely winter snow globes!